This site uses affiliate links, meaning that if you make a purchase through our links, we may earn an affiliate commission.
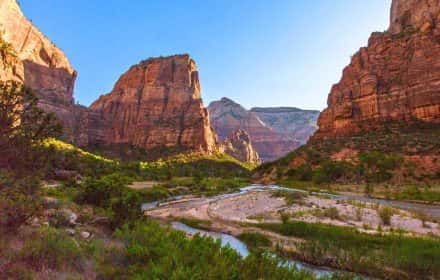
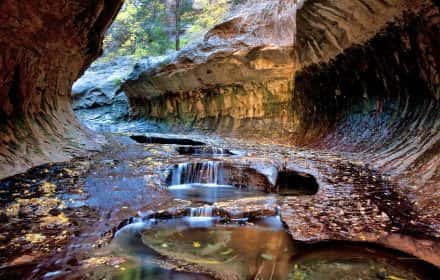
Zion National Park is a superb destination catering to hikers of all skill levels. Here are my favorite 7 short and easy hikes in Zion National Park that cater to everyone.
These hikes are user-friendly, featuring mostly flat terrain without the challenge of steep inclines, making them an excellent choice for the entire family. If the length of some trails raises concerns, fear not – you can easily tailor them to ensure an enjoyable experience for everyone.
For those seeking more challenging hikes, dive into my post on 13 Great Hikes in Zion National Park You Need to Explore. When it’s time for a break from the trails, consider embarking on Zion Canyon Scenic Drive. This leisurely drive offers a relaxed journey to some of the park’s most breathtaking viewpoints.
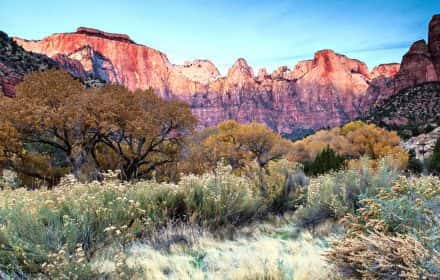
The Watchman in Zion
- 1. Zion National Park At-A-Glance
- 2. Map of Zion Canyon with Shuttle Stops
- 3. 7 Short and Easy Hikes in Zion National Park
-
- 3.1. Lower Emerald Pools Trail
- 3.2. Pa'rus Trail
- 3.3. The Grotto Trail
- 3.4. Weeping Rock Trail
- 3.5. Riverside Walk Trail
- 3.6. Canyon Overlook Trail
- 3.7. The Watchman Trail
- 4. Intrepid Scout's Tips for Easy Hikes in Zion National Park
Zion National Park At-A-Glance
Before diving in, here are a few Zion National Park highlights to help you plan your trip:
- Best Time to Visit Zion National
ParkZion National Park is open 24/7, all year round, making it accessible whenever you plan to visit. Having been there in different seasons, I can honestly say it’s a great place to see, no matter the month.
- Where to Stay When Visiting Zion National Park
Undoubtedly, there’s no better experience than lodging within the park itself! Nevertheless, securing accommodations within the park can be quite challenging due to limited availability, often requiring reservations to be made at least a year in advance. To assist you in navigating your stay, I’ve compiled a useful guide to help you discover the optimal accommodations: 6 Towns And Cities Near Zion (Best Places to Stay and Eat).
- How to Get to Zion National Park
The closest International Airports to Zion National Park that you can fly into are located in Las Vegas (LAS), Nevada, and Salt Lake City (SLC), Utah. There are smaller Regional Airports in St. George (SGU), Utah, and Cedar City (CDC), Utah.
- How to Get Around in Zion National Park
If you are visiting Zion National Park between March through November, then you will have to use the shuttle. No private vehicles are allowed inside the park. The cost of the shuttle is included in your recreational use pass. You can hop on and hop off at any of the shuttle stops.
- How Much Does It Cost to Vist Zion National Park
In order to visit Zion National Park, you need to purchase a recreational day-use pass, which costs $35 per vehicle and is good for 7 consecutive days. You can purchase the pass right at the entrance to the park. If you are visiting several national parks then make sure to get America the Beautiful National Park Pass. This $80 pass is valid for 12 months and gets you into all 400+ national park sites!
- Check Zion National Park Website for Trail Closures and Changes to Shuttle Operations
It is important that you check Zion National Park Website for any trail or road closures (usually due to rock slides) before going to the park. You can check for updates HERE.
Also, get the latest updates on shuttle route changes before heading out. You can check for the most recent information HERE.
Map of Zion Canyon with Shuttle Stops
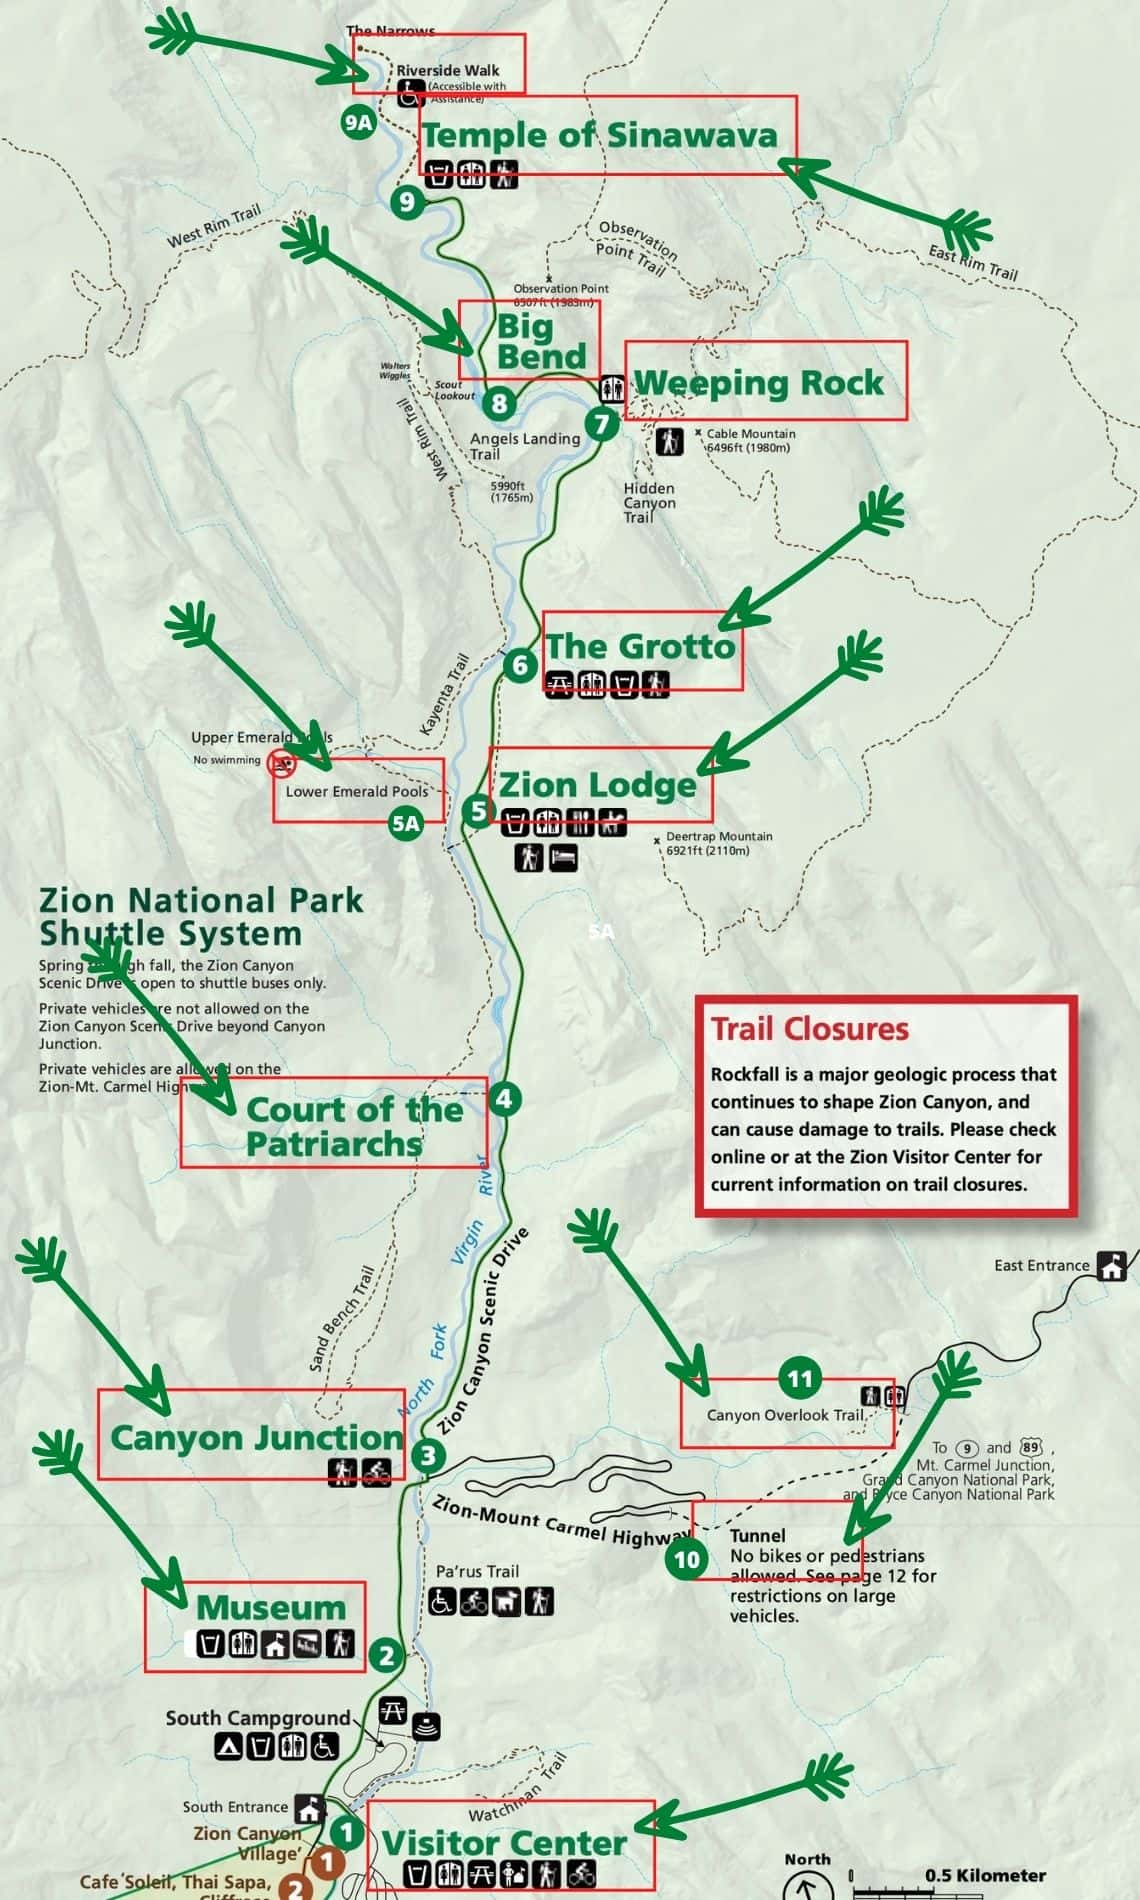
Map of Zion Canyon with the Location of Shuttle Stops and Trailheads
7 Short and Easy Hikes in Zion National Park
Lower Emerald Pools Trail
- Distance: 1.2 miles round trip
- Time: 30-40 minutes
- Difficulty: Easy
- Trailhead: Shuttle Stop # 5 Zion Lodge. Across the road from the shuttle stop.
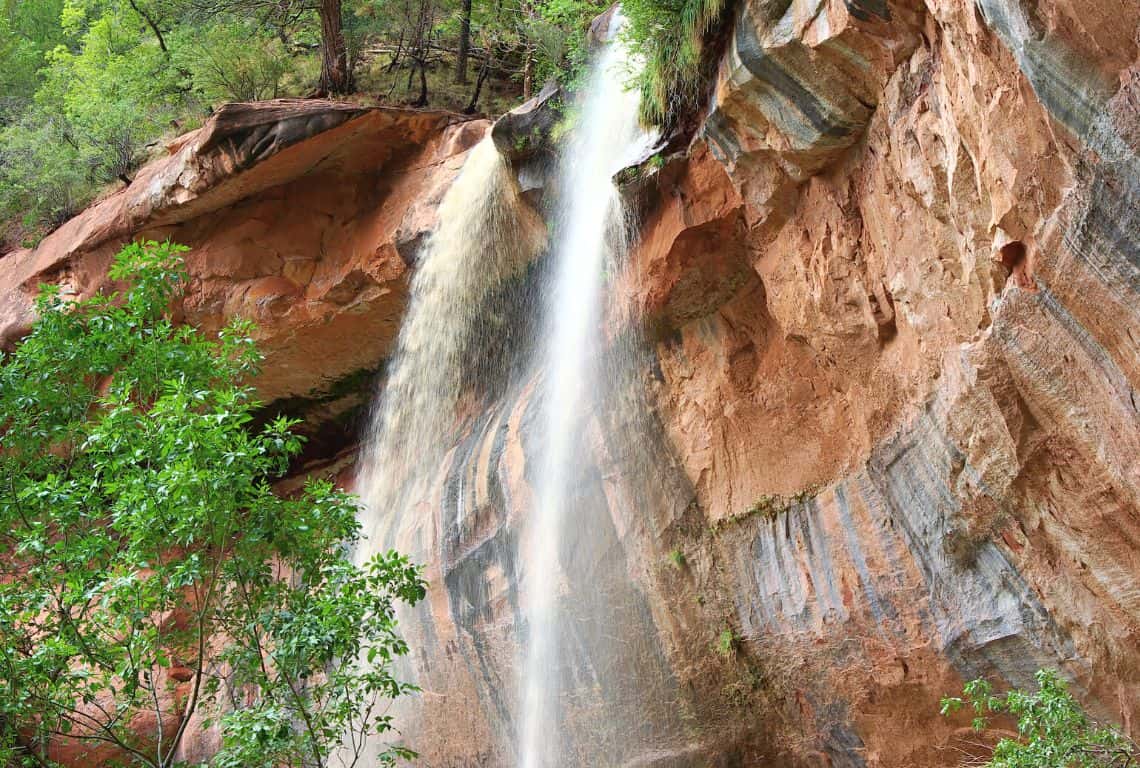
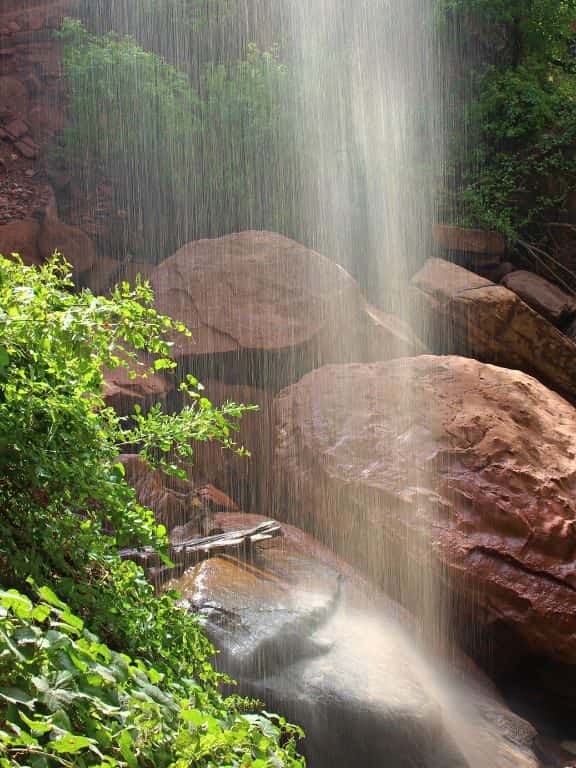
Lower Emerald Pools Trail is an absolute delight to hike. The trail meanders along a small stream that eventually takes you into a large alcove with beautiful waterfalls cascading over its edge and forming several pools.
The waterfalls are the most abundant during spring and fall, or after monsoon rains, however, they are reduced to a mere trickle during the summer months.
The pools are fragile and an essential water source for wildlife. Do not go wade or swim in the pools.
Lower Emerald Pools Trail
Lower Emerald Pools Trail
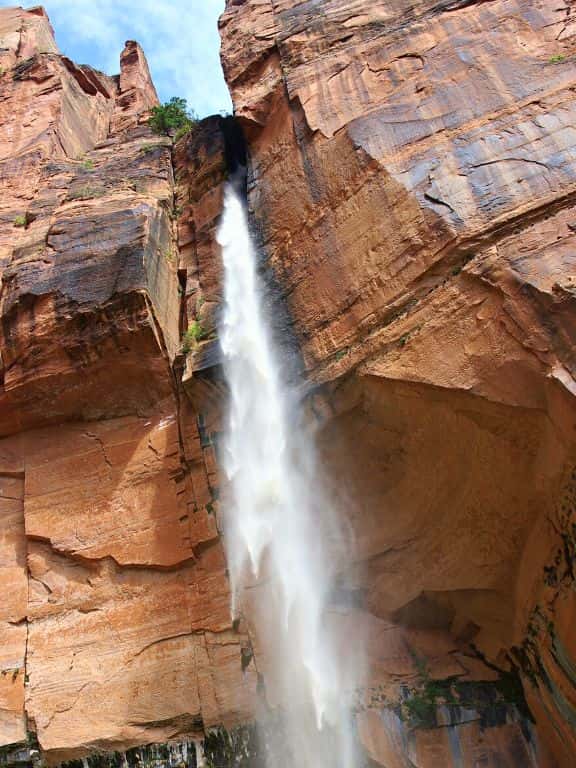
Lower Emerald Pools Trail
GOOD TO KNOW: The Lower Emerald Pools Trail links with both the Middle and Upper Emerald Pools Trail. If you’re feeling adventurous, proceed to explore the Middle and Upper sections of Emerald Pools.
Beyond the alcove, the trail ascends, leading you to the top of the alcove you just passed beneath, known as Middle Emerald Pools. While there are no actual pools here, a stream runs through, eventually forming the waterfall.
The last segment leading to the Upper Emerald Pool is the most challenging but is relatively short.
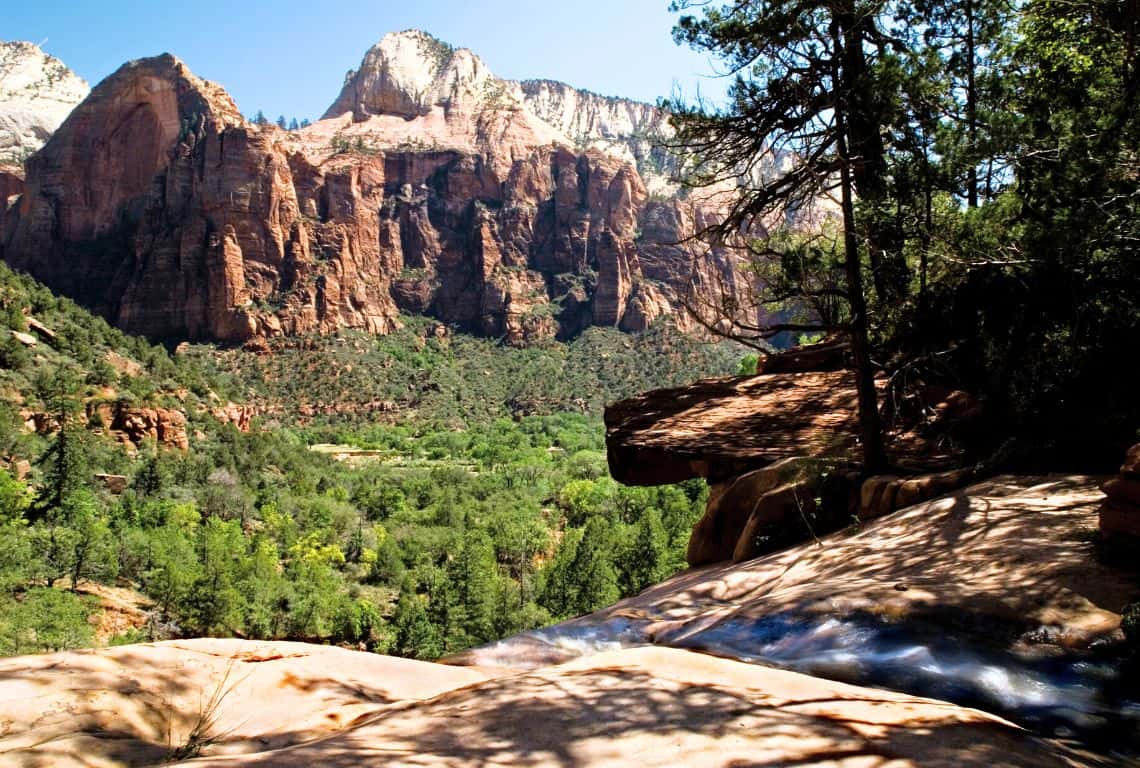
Middle Emerald Pools Trail
Pa'rus Trail
- Distance: 3.5 miles round trip
- Time: 2 hours
- Difficulty: Easy
- Trailhead: Shuttle Stop #1 Zion Canyon Visitor Center (trail ends at Shuttle Stop #3 Canyon Junction)
The Pa’rus Trail is an excellent family-friendly hike in Zion for a couple of reasons. Firstly, the trail is paved, making it suitable for strollers and wheelchairs. Additionally, bikes are permitted on this path.
As you hike along the Virgin River, the Pa’rus Trail intersects with Oak Creek and Pine Creek, adding to the overall experience.
Interestingly, the trail derives its name, Pa’rus, from a Paiute word signifying “bubbling, tumbling water.”
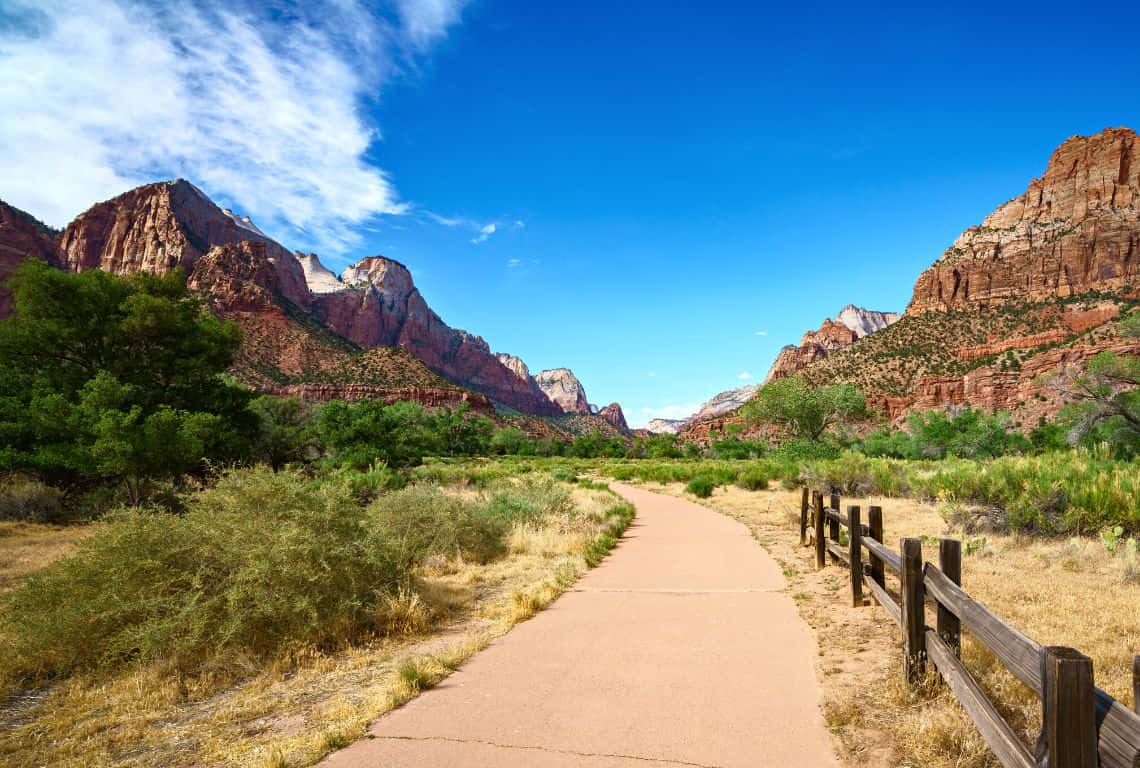
Pa’rus Trail
INTRTEPID’S PRO TIP: Consider hiking the Pa’rus Trail during the late afternoon, especially at sunset. Don’t miss the opportunity to witness the breathtaking red rock formations, including the prominent Watchman.
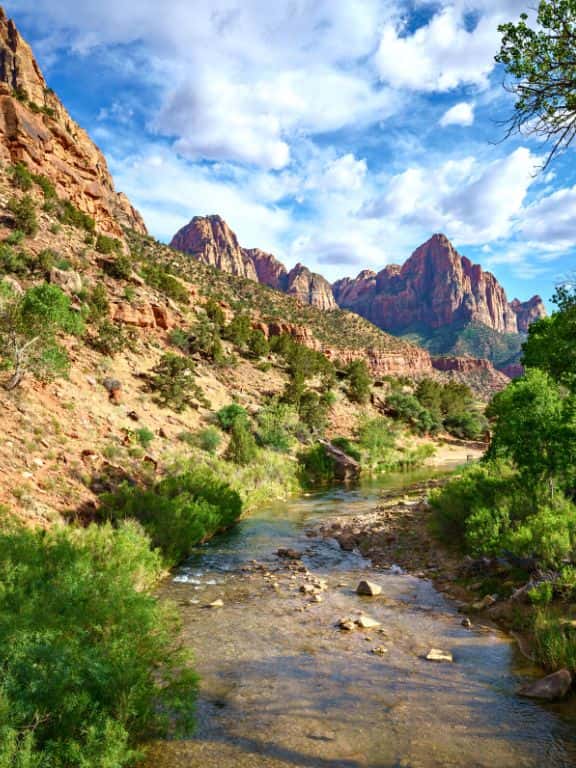
Pa’rus Trail
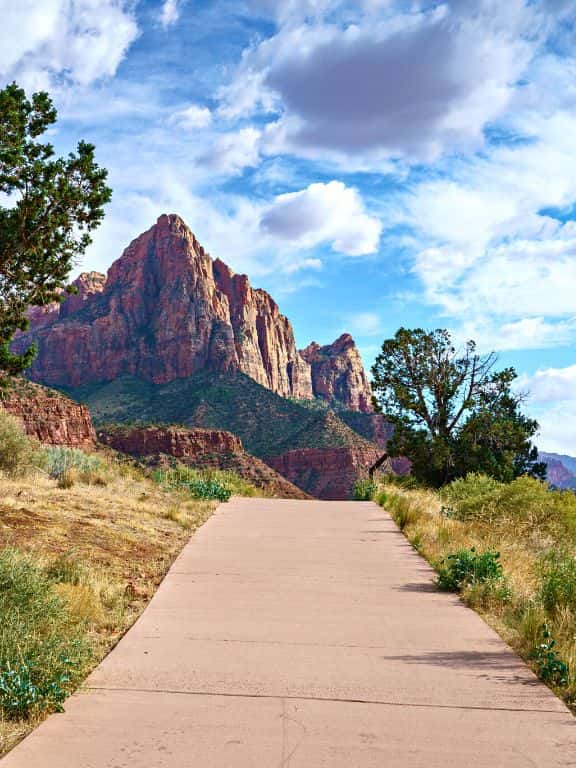
Pa’rus Trail
The Grotto Trail
- Distance: 1-mile round trip
- Time: 30-40 minutes
- Difficulty: Easy
- Trailhead: Shuttle Stop #5 Zion Lodge, or Shuttle Stop #6 The Grotto
The Grotto Trail is an excellent choice for families. The trail connects Zion Lodge (shuttle stop #5) to the Grotto (shuttle stop #6). It meanders next to the road and offers spectacular views. My suggestion is to leisurely take your time and savor the breathtaking scenery along the way.
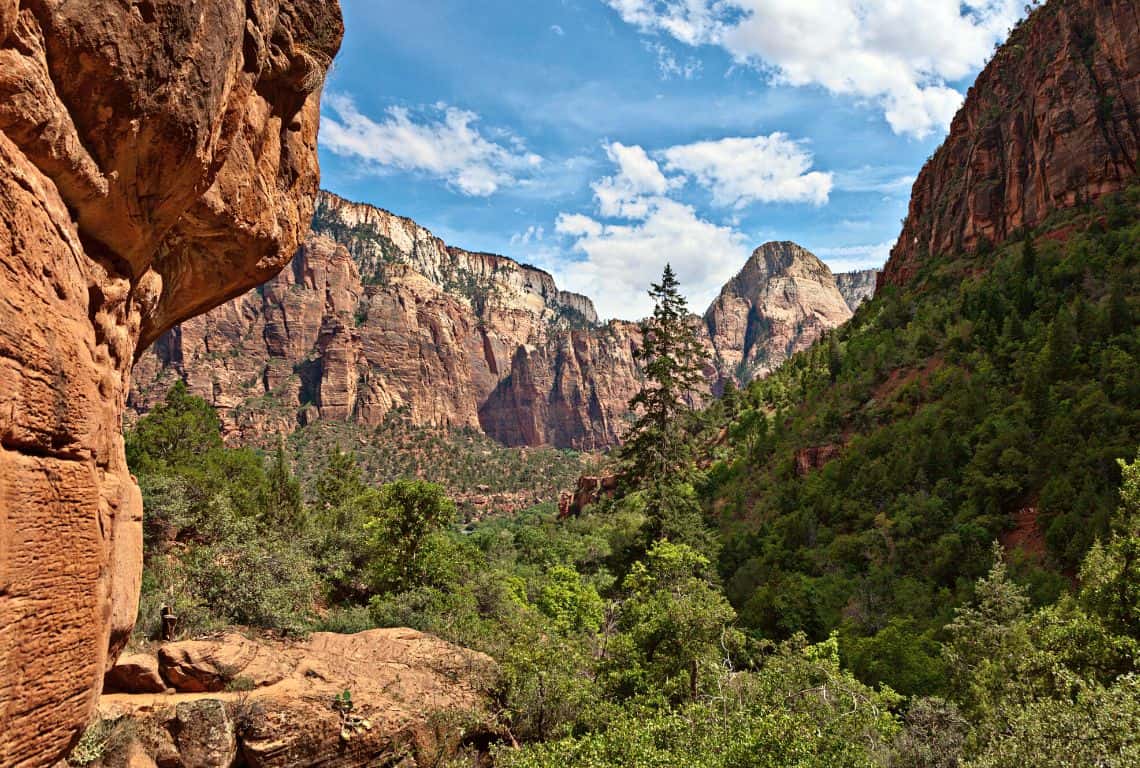
The views along the trail are spectacular. So, my recommendation is to just take your time and enjoy the scenery.
Weeping Rock Trail
- Distance: 0.4 round trip
- Time: 30 minutes
- Difficulty: Easy
- Trailhead: Shuttle Stop # 7 Weeping Rock
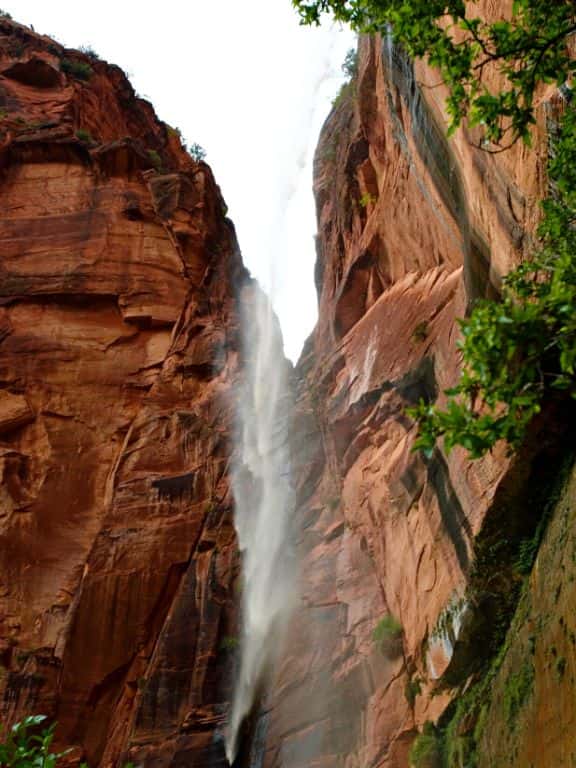
The Weeping Rock Trail stands out as one of my favorite hikes in Zion, offering a short yet rewarding journey to a sizable bowl-shaped alcove with cascading water.
En route, you’ll encounter ‘weeping walls’ where water gracefully descends the rocks. Don’t forget to gaze upward and appreciate the lush ‘hanging gardens.’
During the summer, keep an eye out for the Hanging Columbine, a plant endemic to Zion with two distinct species – the golden one boasting yellow flowers and the western one displaying red and yellow blooms.
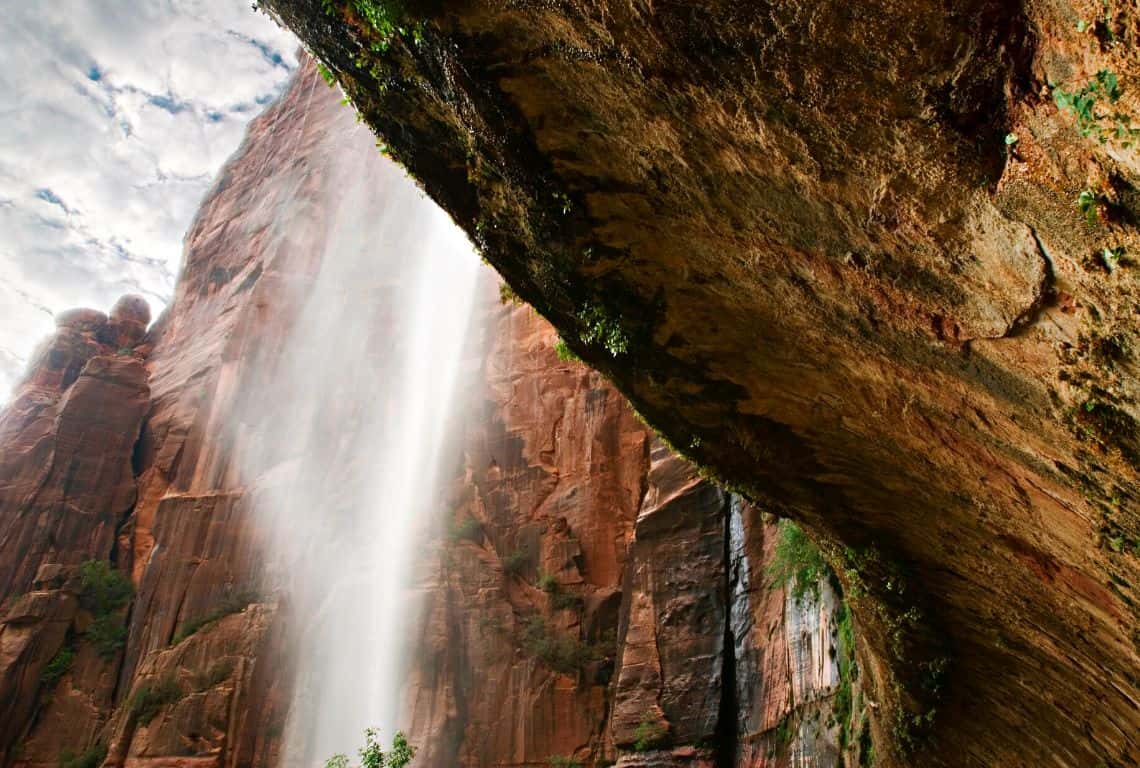
Weeping Rock Trail
A notable feature of the Weeping Rock Trail is its refreshing shade, providing a cool escape even on the hottest summer days. The water trickling down from the Weeping Rocks offers a rejuvenating respite from the arid heat, though be prepared to get a little wet.
Exercise caution while walking, as the path might be slightly slippery!
If you’re visiting in winter, be aware of potential trail closures due to icy conditions.
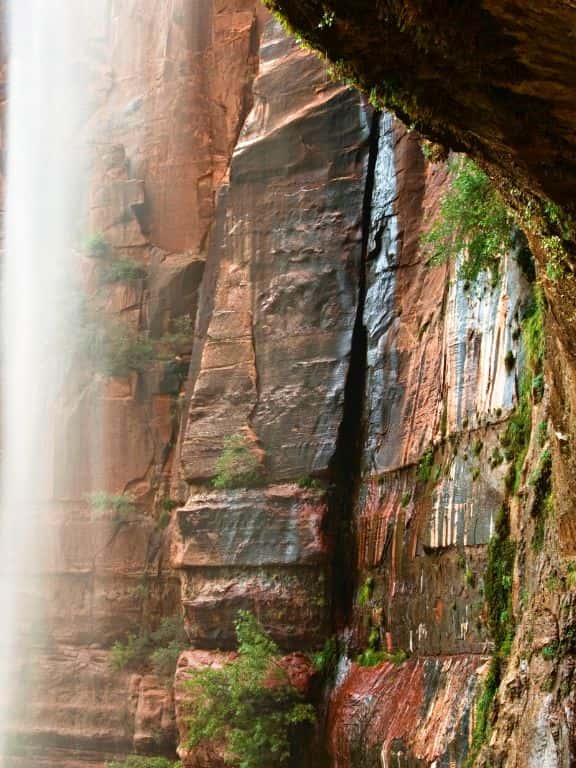
Weeping Rock Trail
Weeping Rock Trail
Riverside Walk Trail
- Distance: 2.2 miles round trip
- Time: 1.5 hours
- Difficulty: Easy
- Trailhead: Shuttle Stop #9 Temple of Sinawava
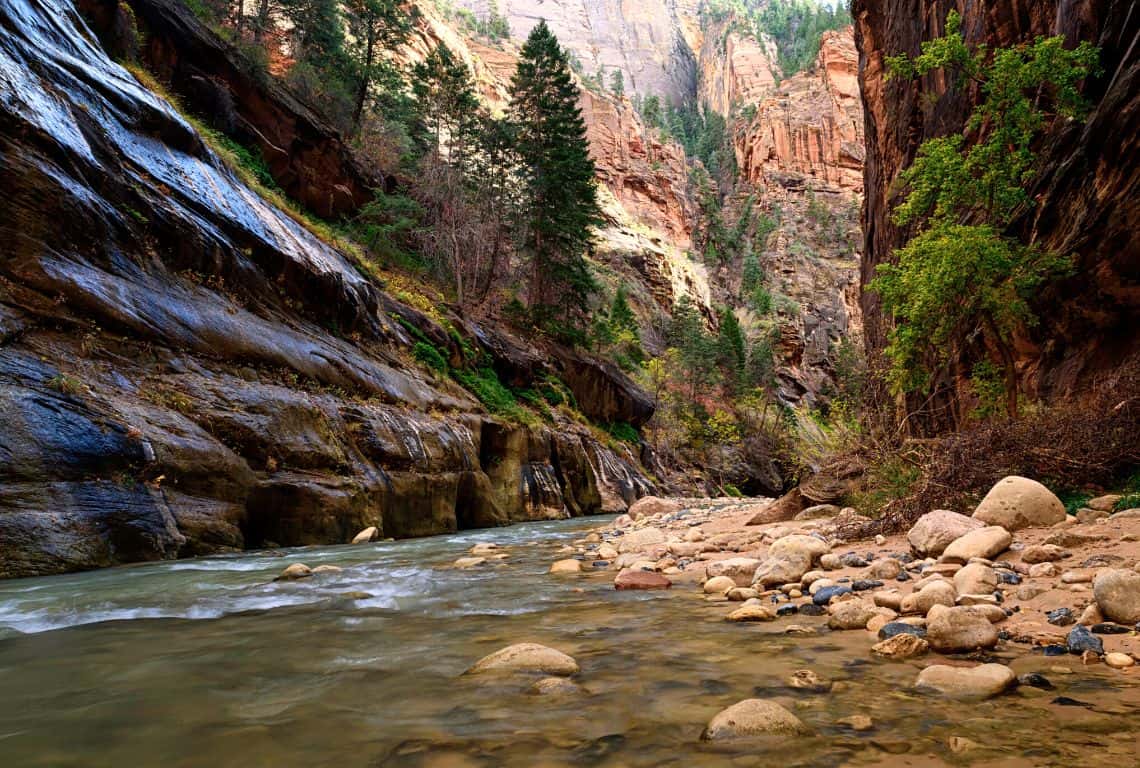
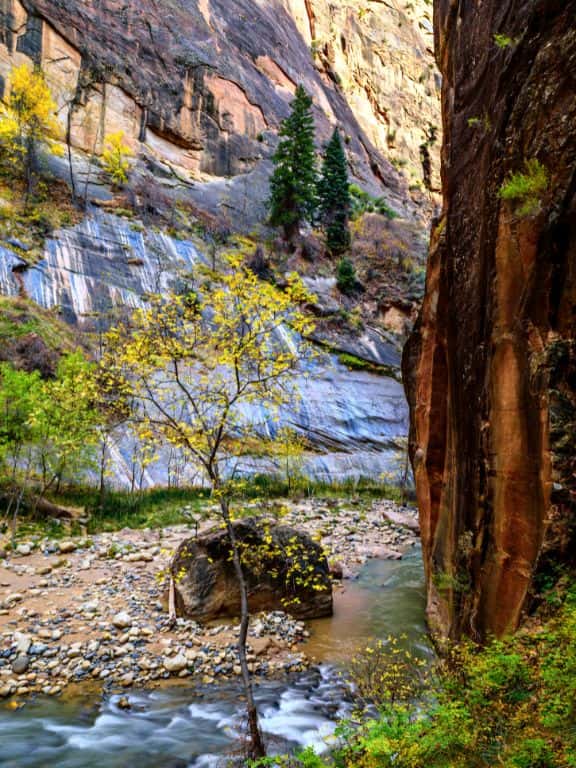
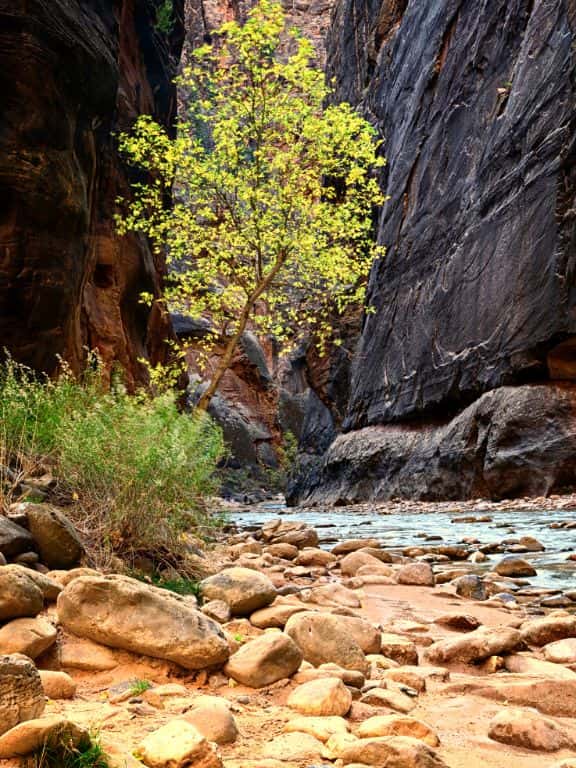
Riverside Walk Trail is an easy, paved trail with little elevation change. It is perfect for the entire family. The trail follows the Virgin River as it rumbles along the bottom of a narrow canyon and the views along the way are awesome.
Originally, Riverside Walk Trail was called Gateway to the Narrows since it provides access to the bottom-up Narrows route.
Riverside Walk
Riverside Walk Trail
Riverside Walk Trail
Canyon Overlook Trail
- Distance: 1-mile round trip
- Time: 30-40 minutes
- Difficulty: Moderate
- Trailhead: Zion-Mt. Carmel Drive
Canyon Overlook Trailhead is a moderate trail, however, I decided to add it to this list because of the awesome views of the Zion Canyon.
It is up to you if you want to give it a try. The trail is rocky and uneven with a few steep inclines, but, I have seen entire families on this trail, though. Also, there are a few long drop-offs at the overlook, but they are all fenced off.
GOOD TO KNOW: The trail is located on Highway 9, just east of Mount Carmel Tunnel. By the way, there is no shuttle in this area and you will need to use your own vehicle to get there. Parking is extremely limited, so be prepared to try multiple times.
The view of the Zion Canyon with the switchbacks below the west end of the Mount Carmel Tunnel, West Temple, the Towers of the Virgins, the Streaked Wall, and the Beehives is off the charts!
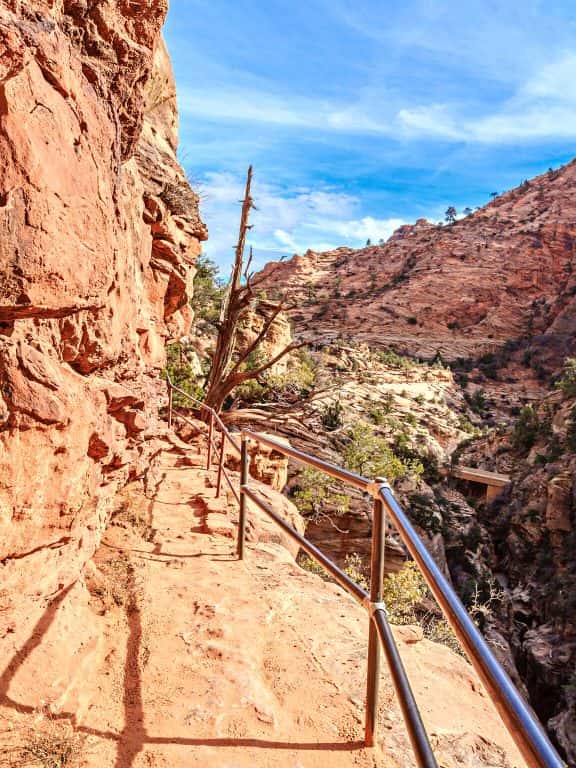
Observation Point Trail / Easy Hikes in Zion
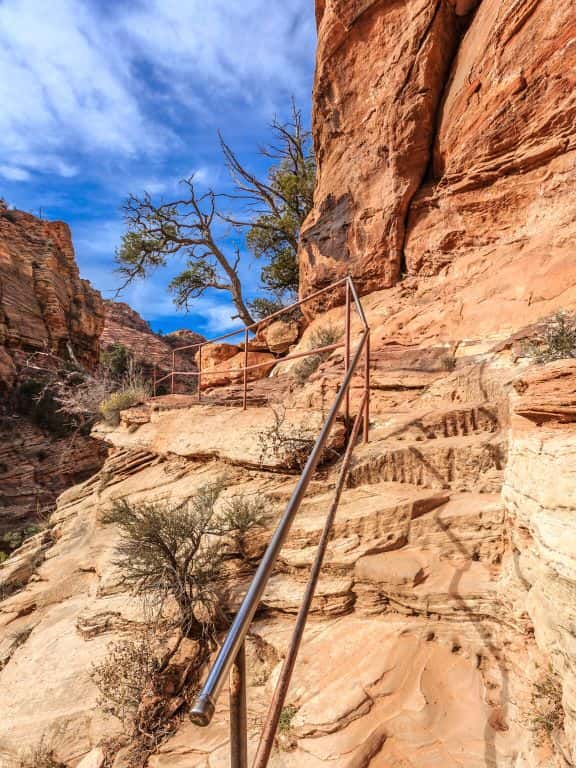
Observation Point Trail / Easy Hikes in Zion
GOOD TO KNOW: The trail is located on Highway 9, just east of Mount Carmel Tunnel. By the way, there is no shuttle in this area and you will need to use your own vehicle to get there. Parking is extremely limited, so be prepared to try multiple times.
The view of the Zion Canyon with the switchbacks below the west end of the Mount Carmel Tunnel, West Temple, the Towers of the Virgins, the Streaked Wall, and the Beehives is off the charts!
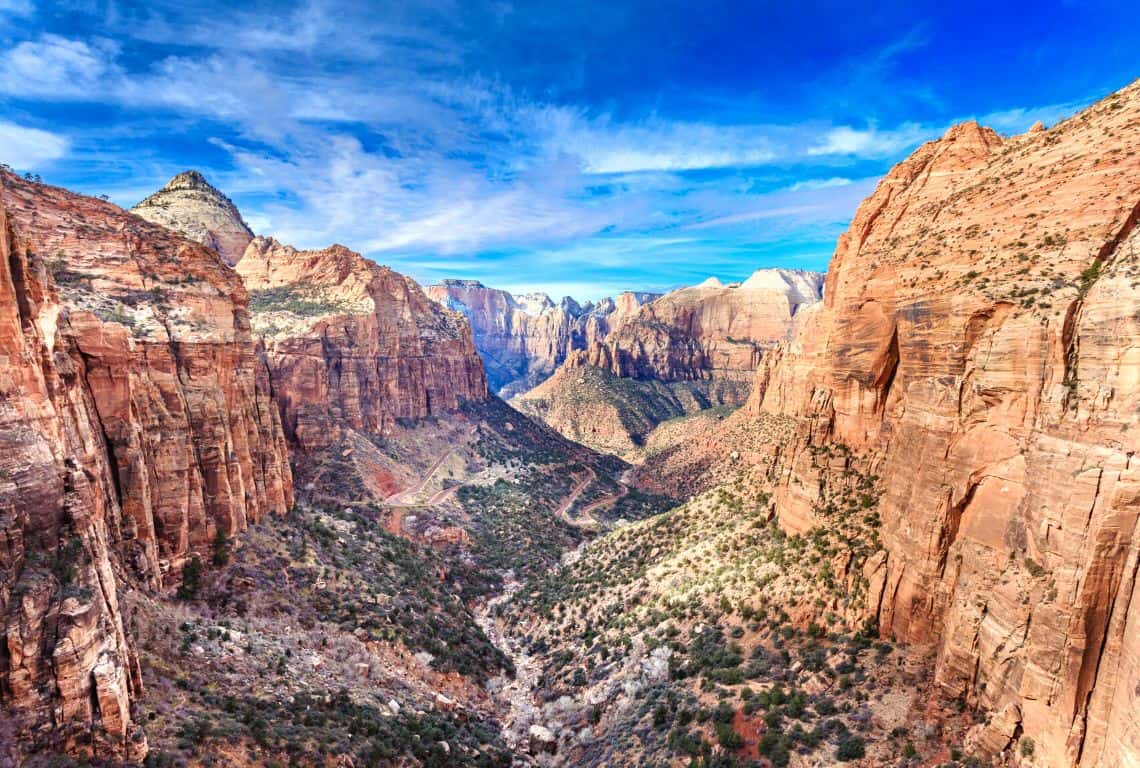
Observation Point Trail / Easy Hikes in Zion
The Watchman Trail
- Distance: 3.3 miles round trip
- Time: 2 hours
- Difficulty: Moderate
- Trailhead: Shuttle Stop #1 Zion Canyon Visitor Center
The Watchman Trail initially follows the Virgin River and then takes you through the foothills beneath massive Bridge Mountain. Eventually, it ends at the base of the Watchman spire.
Many Zion National Park landmarks are visible along this hike including Beehives, Towers of the Virgin, West Temple, and the Altar of Sacrifice.
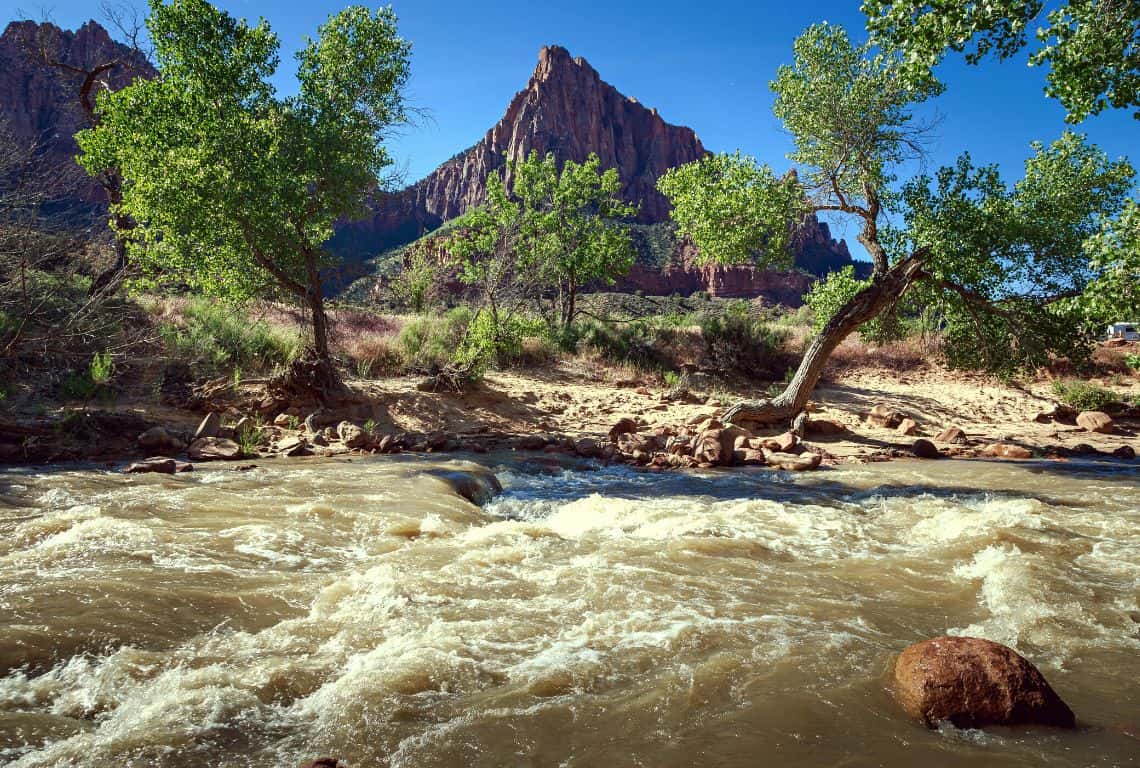
Watchman Trail
Intrepid Scout's Tips for Easy Hikes in Zion National Park
- Stock up on snacks and water, and fill up the gas tank. Get all your groceries (water, snacks, lunch) and fill up the gas tank before entering the park. You will save some money by packing your own lunch. There is a restaurant and a small store at Zion Lodge, however, be prepared to pay extra for food and water.
- Be prepared for crowds. Zion National Park is the most visited national park in the United States. 4.5 million people visited Zion National Park in 2019. With that being the case, be prepared for crowds everywhere.
- Park your vehicle in Springdale, UT, and then take the shuttle. Parking is very limited inside Zion National Park and private vehicles are not allowed past the Canyon Junction if the shuttle is operating. Park your vehicle in Springdale and then take the shuttle. There are nine shuttle stops in Springdale.
- Arrive early. The shuttle starts operating at 6 am. Be the first one in the line to board the shuttle. You will be able to experience some solitude on the trails and not wait in line to take a picture.
- A trip to Zion is perfect when paired with a side trip to Bryce Canyon National Park, Grand-Staircase Escalante National Monument, or Canyonlands, Capitol Reef National Parks.
Check out my post: Zion to Bryce Canyon: 3-Day Adventure (with Maps and Photos)
Did you know that Utah has five national parks known as ‘The Mighty 5‘. Have you visited any of them? Which is your favorite Utah National Park? Let me know in the comments below which one you think is one of the best Utah national parks. Get inspired with this Epic 7-Day Road Trip Through Utah National Parks.
More Information About Zion National Park
Learn More About Zion National Park:
6 Enchanting Towns And Cities Near Zion National Park (with Best Places to Stay and Eat)
Complete Guide to Zion National Park – 13 Tips for First Visit
13 Best Stops on Scenic Drive in Zion National Park (Maps+Tips)
One Day in Zion National Park (Itinerary+Maps+Tips)
13 Great Hikes in Zion National Park You Need to Explore
Travel Planning and Road Trip Ideas:
Zion to Bryce Canyon in 3 Days (Itinerary Ideas+Useful Tips)
Did You Find This Useful?
Why Not Save 7 Easy Hikes in Zion National Park to Your Pinterest Board!
Now, It Is Your Turn, I Would Like to Hear Back from You!
Are you planning a trip to Zion National Park?
Please let me know! Drop me a quick comment right below!
Click on any of the images below to get inspired and to help you with the planning process for your trip to Zion!
